I chose dimensions based on the bicycle fork I used and wheel as well as a 4ish foot section of gray tube I had. I planned on this being a outdoor sculpture rather than a rooftop piece so I wanted something human height. The final build comes in around 6 ft.
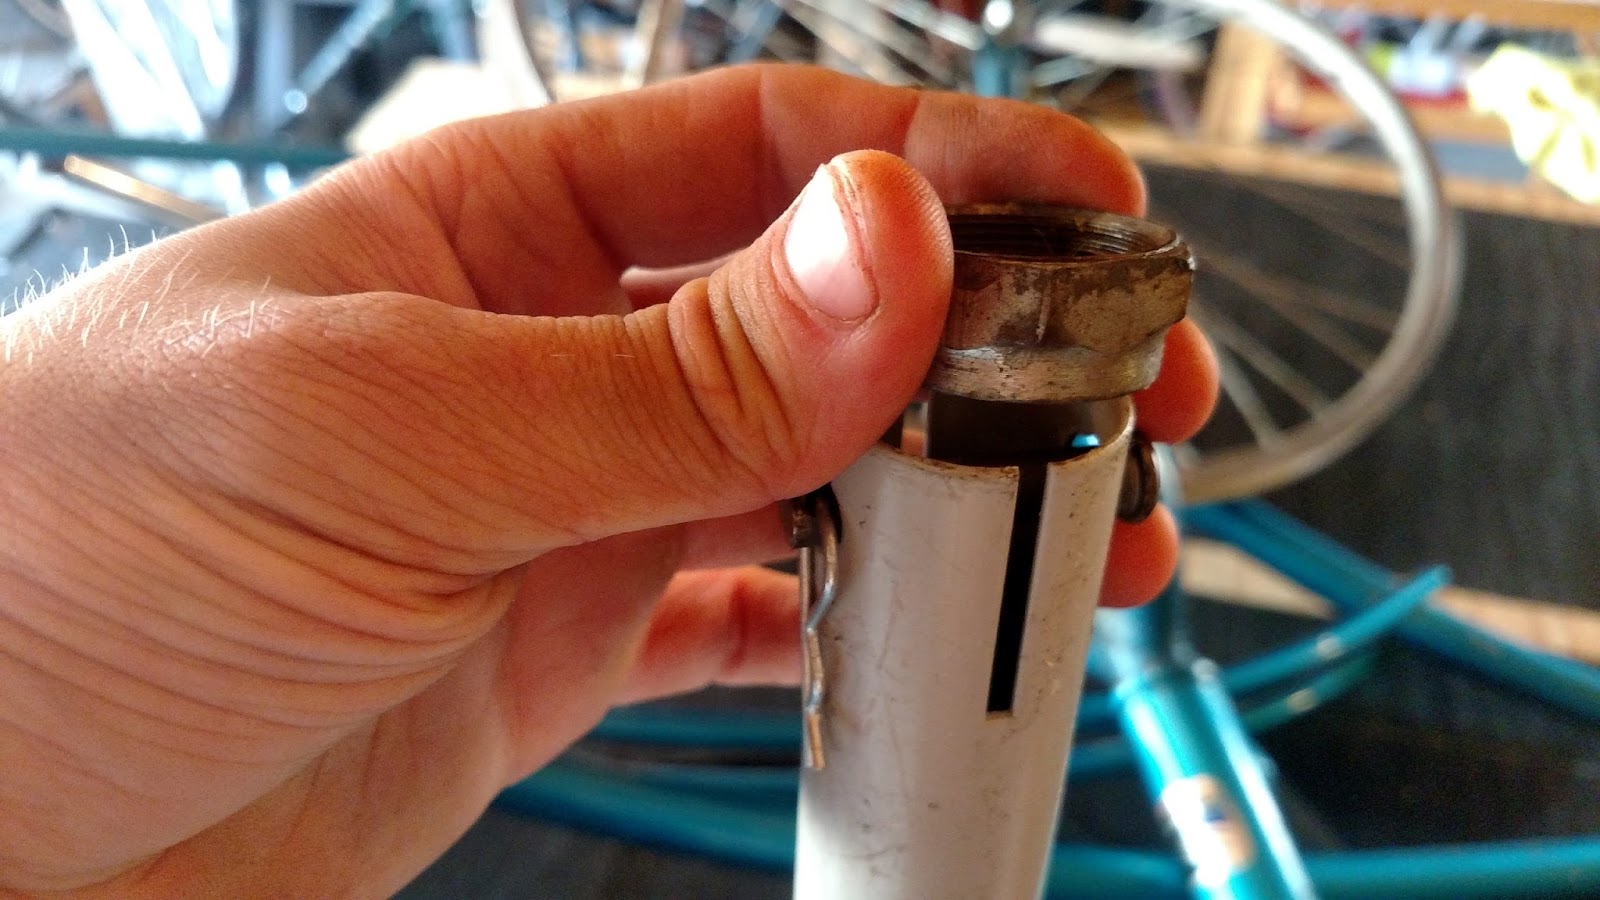
All of the parts being used was both a blessing and a curse. The wheel hub was in ok shape but the bearings were a bit pitted (nicked so as to no longer able to roll smooth). I hope to replace with ceramic bearings/races in the future both because they have low rolling resistance and because they are less susceptible to the elements. Rolling resistance for those who don’t know is the friction the bearings (little balls in the races (the holders that spin: https://en.wikipedia.org/wiki/Race_(bearing))) experience when rotating. Less rolling resistance means less force needed to move/spin the thing with bearings ( https://en.wikipedia.org/wiki/Rolling_resistance). Cyclists spend a lot of money on reducing rolling resistance. Getting awesome bearings with low rolling resistance is one of the easiest ways of buying speed for a racing bike.
Build initially was cutting and fitting the bike fork pieces to the tube pieces. I cut off one of the bike fork tines because it was impeding the spinning of the wheel.
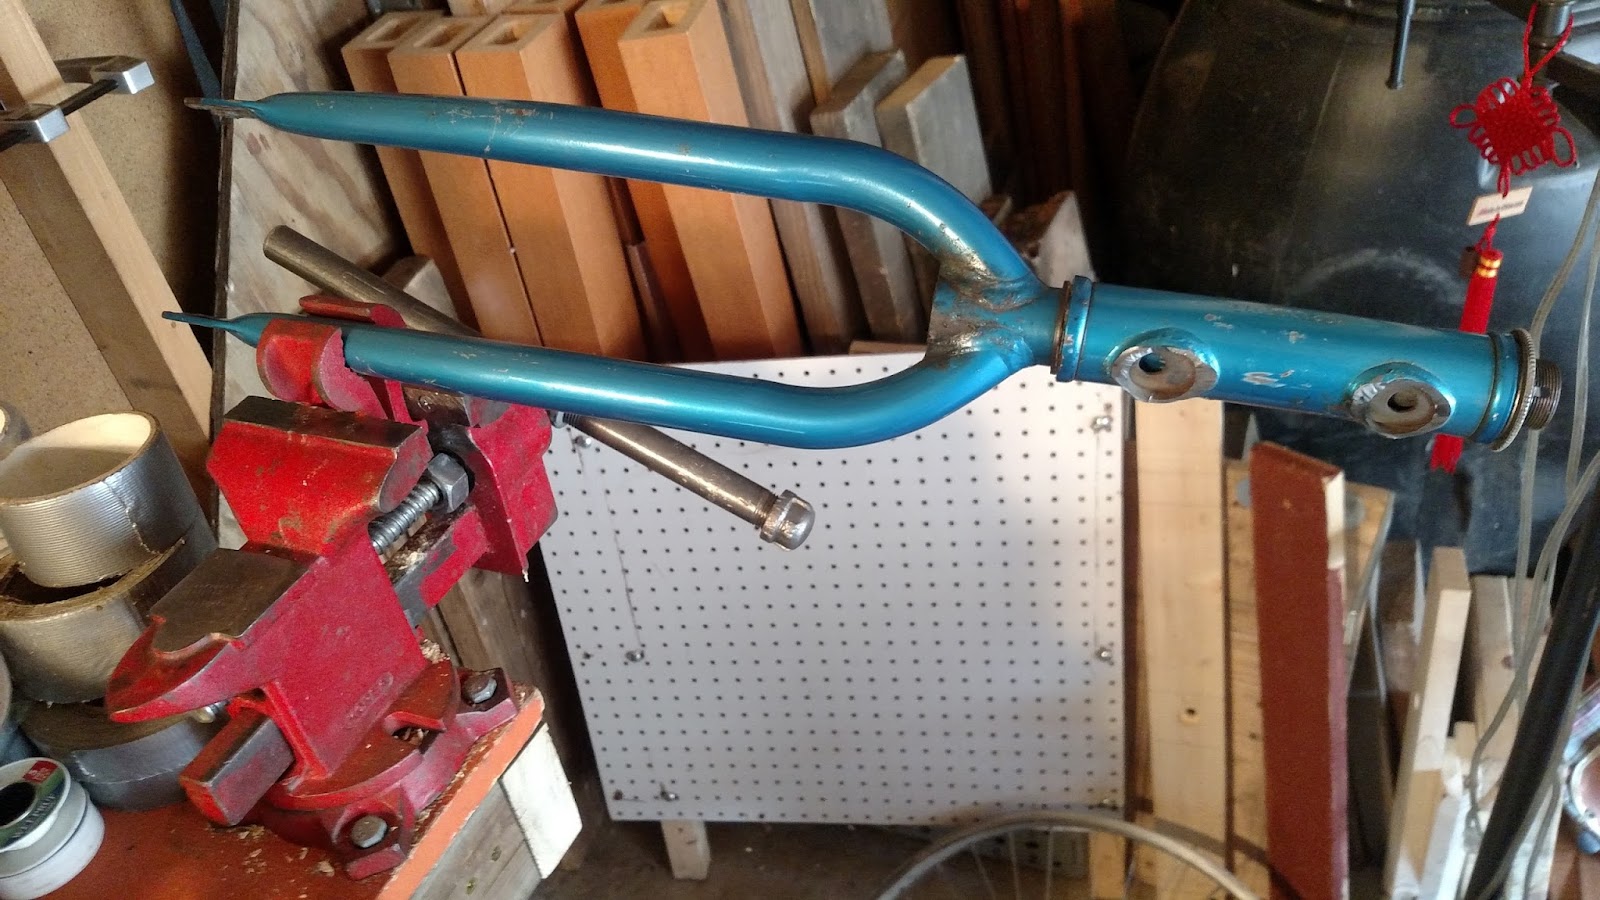

This was because the crashed wheel was very very out of tru (no longer consistently round). Initially I thought I would just weld the steerer tube to the long section of tube but this proved impossible as it would have impeded the rotation of the fork.
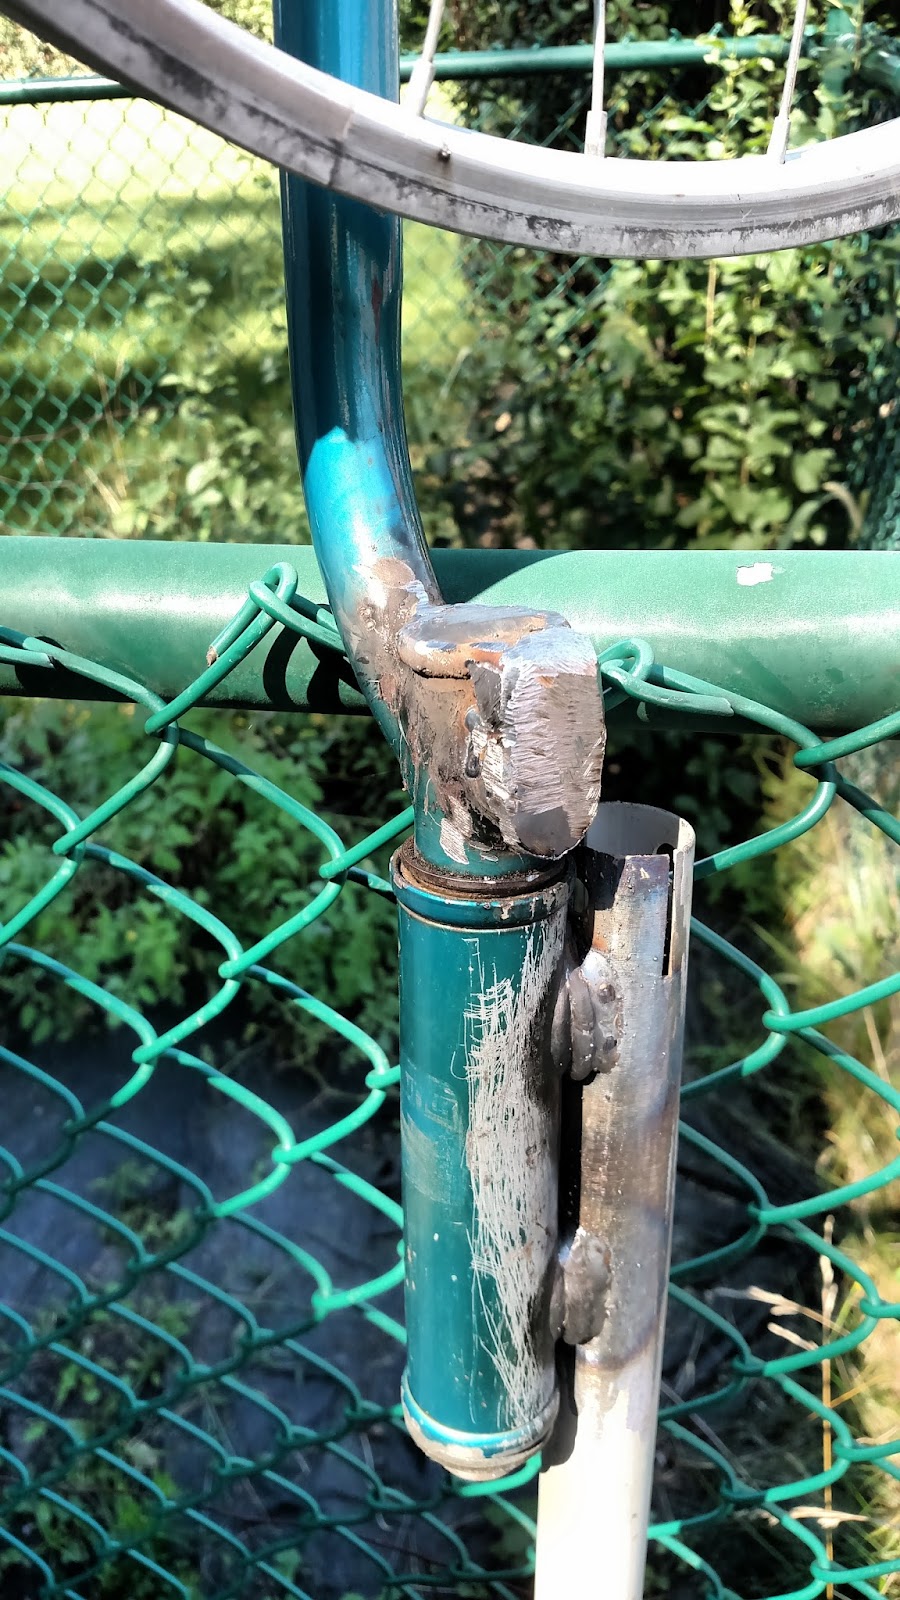
I then went with the second option of mounting to steerer tube face where the fork tine had attached. I grinded surfaces of fork /prepped for welding.
Initial fit up test showed that there was some overlap with moving parts so I ground down.
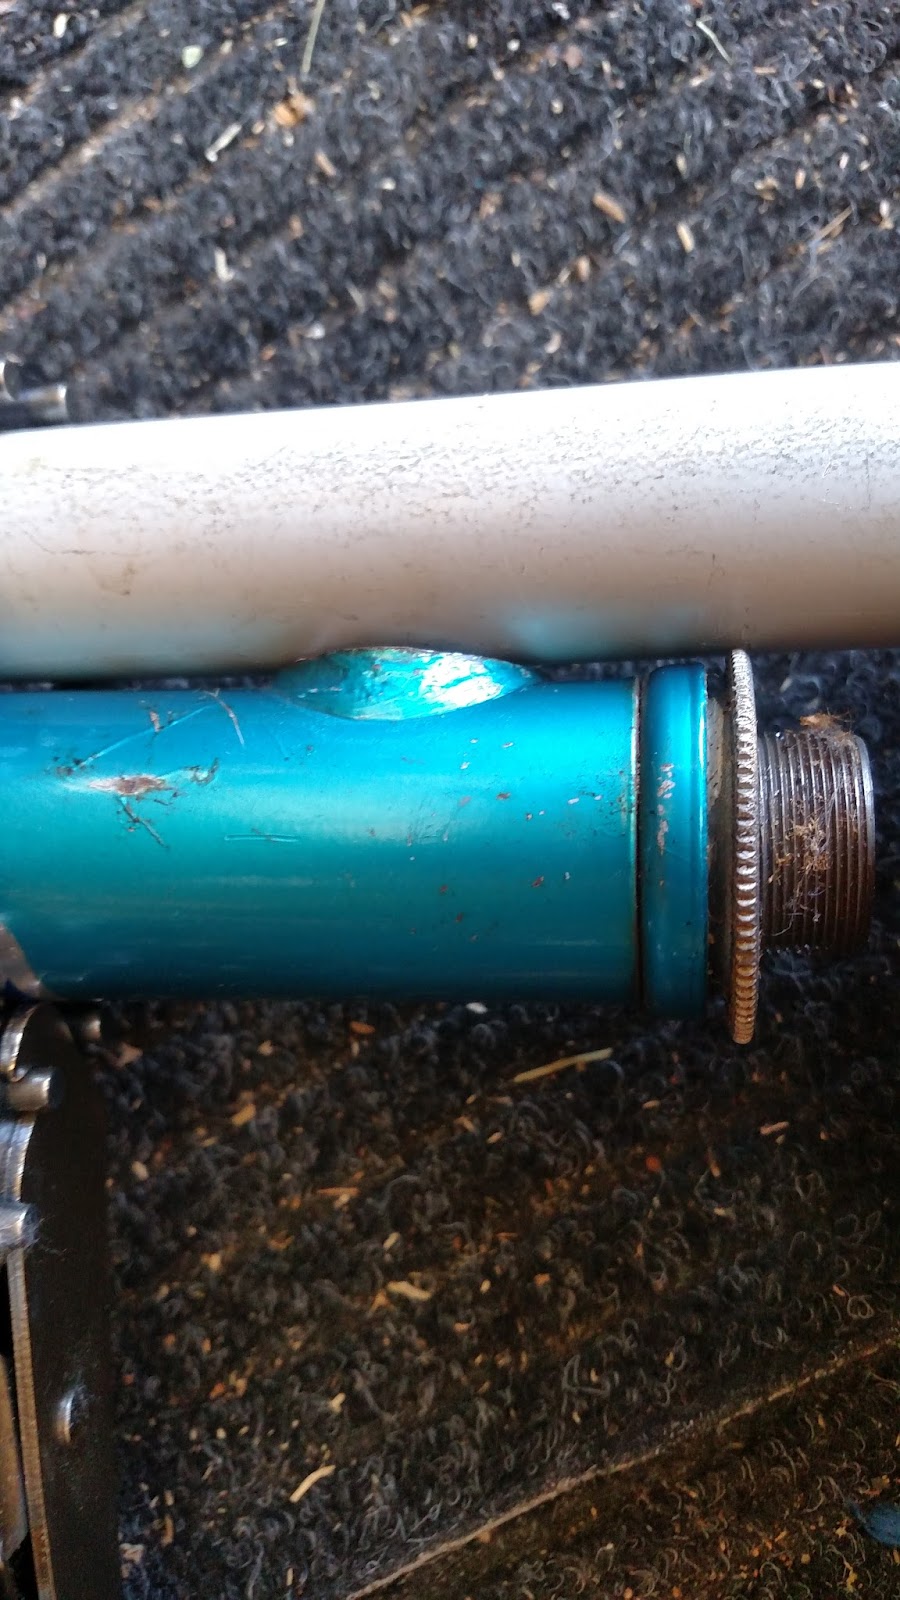
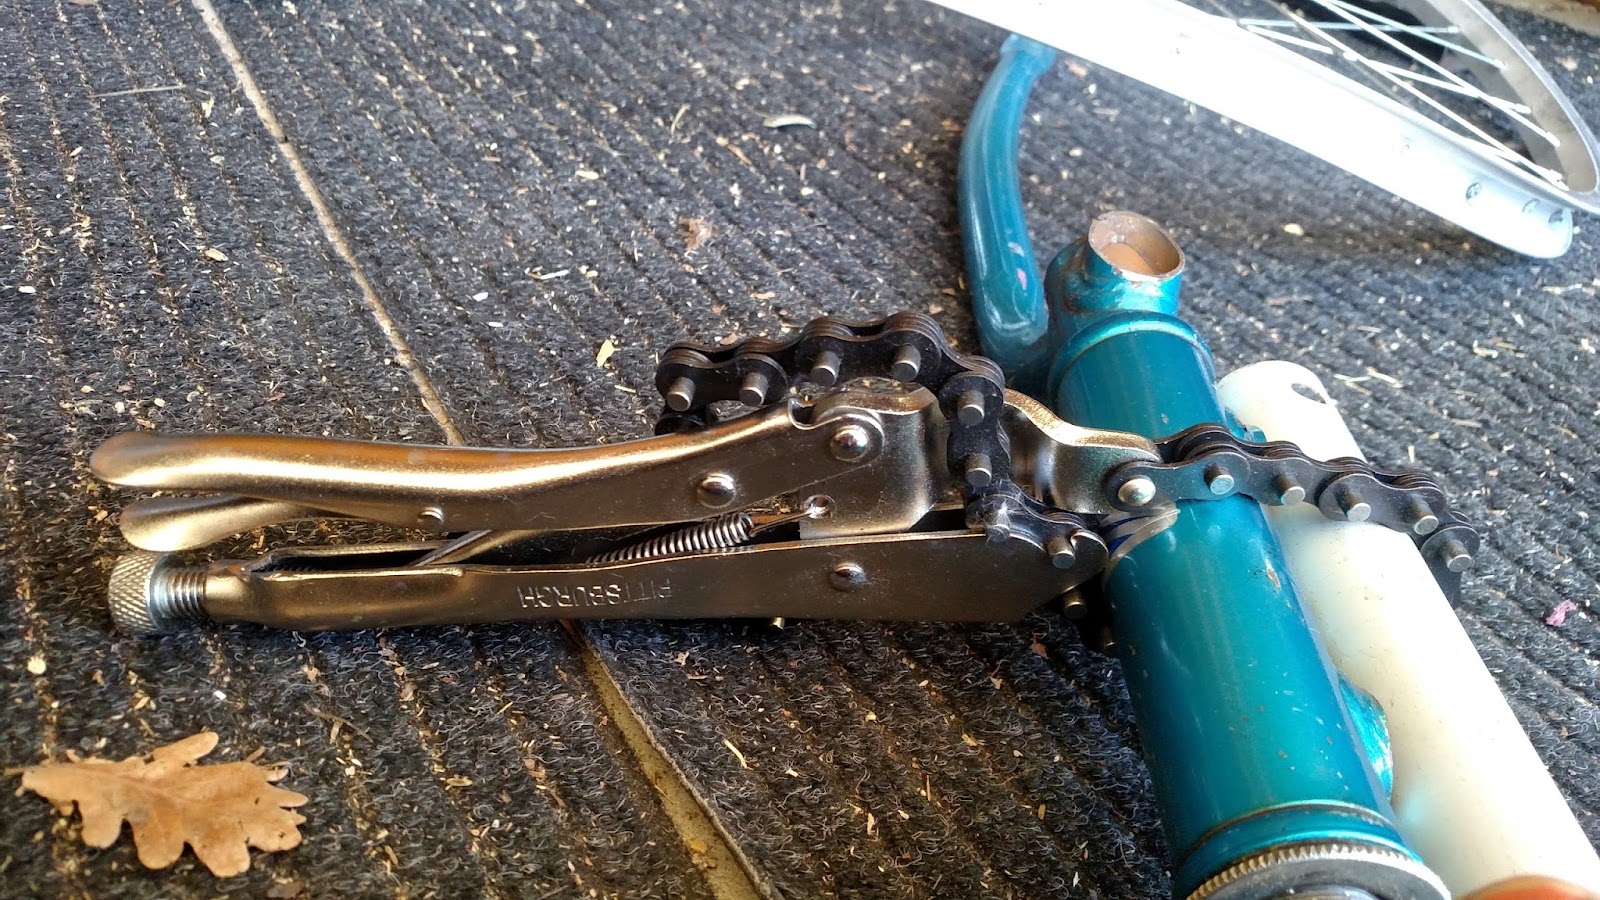
I then fitted scrap flat stock to seal openings so as to limit water getting into steerer tube and for aesthetic completeness. I mig welded the different elements after marking and clamping.
Welds were adequate but hardly structural. Mig welding can sometimes be used like a hot glue gun for metal. If you prep the two surfaces so there aren’t contaminants like paint and oil you can get things to join nicely with the heat/introduction of new metal.

As you can see the outer race is no longer gnarled.

Welds had nice heat affected zones.
Afterwards I ground welds to create a more aesthetic appearance.

This is an informative post review. I am so pleased to get this post .
ReplyDelete